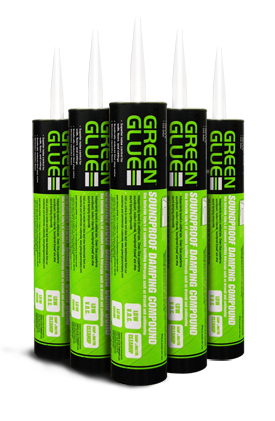
Green Glue Installation Guide
Green Glue Installation Guide
• Use a standard quart size caulking gun to apply Green Glue.
• Due to its thin consistency (like ketchup) you can easily dispense a tube of Green Glue in 15 seconds.
• Green Glue will not flow off the board during installation.
• Complete coverage is not necessary to obtain excellent results.
• No rolling, toweling or painting; a random pattern of Green Glue provides the best performance.
CLEAN UP
There is a slight smell when Green Glue is wet. In a similar way that
you can smell paint while painting a room, you will also be able to smell the Green Glue while applying. Simply ventilate the room. Keep the empty tubes in a plastic bag and remove them frequently to reduce odor.
Green Glue is easily cleaned up with soap and water. Be sure to clean as you go; its best not to allow Green Glue to dry before clean up.
Hanging the first layer of drywall

Correct – The caulking bead applied to the drywall seam is below the plane of the wall.

Incorrect – The caulking extends beyond the plane of the wall. This will prevent the next layer of drywall from contacting the first layer lowering your performance.
If using drywall mud, fill the seam and the indentation caused by the tapered edge of the drywall. A perfect finish is not essential, so a single broad swipe with the drywall knife should do. If speed is an issue, you can omit this step. Just hang the first layer, and move to the second layer.
Opening the Green Glue tube

Acceptable tip openings range from 1/8” to 3/8”. We have researched coverage patterns and bead sizes considerably in our labs and have not found a dramatic difference among different techniques and choices.
Green Glue coverage

The ideal coverage should be uniform throughout the sheet using 1 – 3 tubes.
Applying 1 tube of Green Glue per 4’ x 8’ sheet will deliver about 70% of the performance of 2 tubes. Three tubes is optimal per 4’ x 8’ sheet will improve low-frequency performance around the primary resonance. We do not recommend using more than 3 tubes per sheet. If you use too much Green Glue, performance will decline.
Leave border around material
Leave a 2-3 inch border around the edge of the drywall or building material. This will allow you to carry the sheet without getting your hands into the Green Glue.
Leaving this border will not affect your sound isolation performance.
Good Performance: 2 tubes per 32 sqft sheet = 192 sqft per case
Great Performance: 3 tubes per 32 sqft sheet = 128 sqft per case
Applying Green Glue
Place each sheet of drywall on a flat surface; apply Green Glue to the face of second layer, in a random pattern, one sheet at a time.
Leave a 2-3” border with no Green Glue around the edge of the board. This will allow you to carry the board without getting your hands in the Green Glue.
Raise the board into place. Press the board against the wall, ceiling or floor, while making sure to stagger your seams between the two layers.
Screw the board into the studs/joists following local building codes. Make sure to leave a 1/4” gap at the perimeter of the wall/floor or ceiling to be filled will Acoustical Caulk. After the Green Glue is sandwiched between both layers, it will flatten out to .5mm. Allow two weeks for the Green Glue to dry before testing performance. The longer Green Glue is allowed to dry the better it will perform.
Note: Do not allow the Green Glue to dry before installing. Screw the board into place within 15 minutes to guarantee the Green Glue has not had time to start drying.
Finish Wall
Fill 1/4” perimeter gap with acoustical caulk. Tape and mud drywall seams to typical finish level.
